Home Data Center Project: Starting the build
The following is part of a series of posts called "Building a data center at home".
Living in the SF bay area, you can acquire 2nd hand data center equipment relatively cheap. The following are a series of posts detailing my deep dive in building a cluster with data-center equipment at home (often called a homelab) which consists of 48 CPU cores, 576Gb RAM, 33.6TB storage across 60 x 6Gb/s HDD's with a combined weight of just over 380lb/170kg within a budget of $3000.
- Home Data Center Project: Starting the build - 7 September 2019
- Home Data Center Project: Adding a storage server - 21 September 2019
- Home Data Center Project: Formatting NetApp drives for normal use - 21 September 2019
- Home Data Center Project: Reduction of noise on Isilon X400 - 28 September 2019
- Home Data Center Project: Wiping and configuring Force10 switch - 5 October 2019
- Home Data Center Project: Load balancing multiple ethernet ports - 26 October 2019
- Home Data Center Project: Setting up a VMware vSphere ESXi 6.7 on Dell R610 - 6 November 2019
- Home Data Center Project: Persistent kernel panic and upgrading R710 BIOS - 23 November 2019
- Home Data Center Project: Finished System - 29 November 2019
I recently built out a Kubernetes cluster using a few old computers that I wasn’t using which you can read about here.
Living in the San Francisco bay area, it turns out that obtaining old data center equipment is actually pretty inexpensive due to the large number of tech companies and the low demand for old equipment. A single new server unit can cost many 10s or 100s of thousands, which sounds like a lot, but given the costs surrounding running a data center such as power, staff and cooling, this is not such a significant cost. In this case, having older less efficient equipment can actually end up costing more in the long run, hence the lower demand for such hardware.
I found a liquidation business around Hunters Point that sold hardware that they obtained
in bulk from companies that were doing wholesale changes to their data centers. I managed to pick
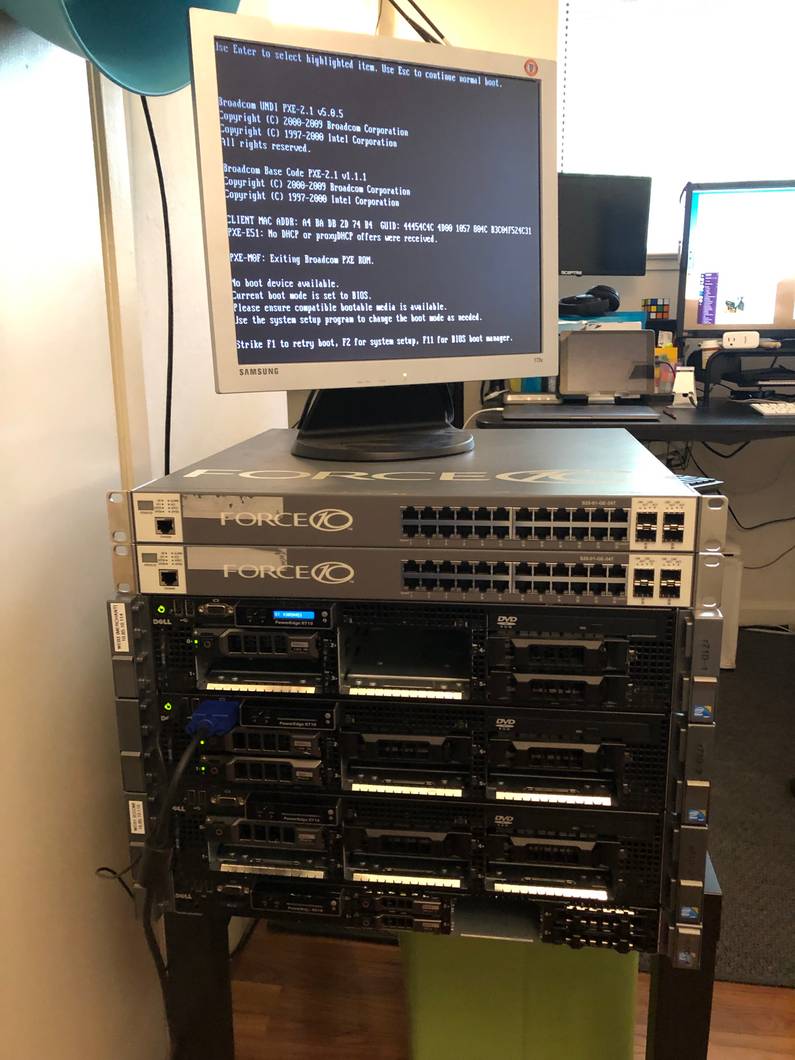
up 3 Dell R710s and 1 Dell R610 for $350. They even threw in two Force10 24 port ethernet
switches and an old monitor as well.


Having not done had any experience with proper rack mount servers before, booting these up for the first time was quite interesting. Admittedly, I was totally unaware that different hardware at this level can contain it’s own BIOS, so during the boot process you are able to enter the BIOS configuration for actual hardware not just the standard motherboard hardware.
The first thing I needed to do was to just into the Perc 6/i BIOS for each server and set up the
RAID configuration given that the HDD’s that were supplied where totally wiped. Each of the R710s
have 6 3.5” bays while the R610 has 6 2.5” bays.
Initially I set up each machine running with a RAID-1 across two 500GB enterprise level disks. Due to the fact that I’m going to be running a cluster of Kubernetes machines, I don’t care too much about local storage as this is likely going to be handled elsewhere on the network.
I install Ubuntu server 18.04 on each via a USB flashed with etcher and the entire process is pretty much standard as if I was installing on a laptop. I was actually expecting there to be more issues that I’d need to find solutions for but it was actually quite an easy process.
I was originally thinking that these severs were going to be LOUD, but they’re not too bad.
When the air conditioning is on in the house, they somewhat become inaudible. Funnily enough,
the Force10 actually sounds a little louder than the servers although I think that this is due to
the frequencies that it produces being more uneven. The R610 and R710s sound to me like they
have a flatter sound profile, so more of a white noise, while the switch seems to have a more
uneven sound profile and is more noticeable.
Either way, might be interesting to test this theory in future by running each through a spectrum analyzer.
After setting everything up I add each to the existing kubernetes cluster via kubeadm and
everything just works as expected. This was all much easier than I was expecting. Happy days!
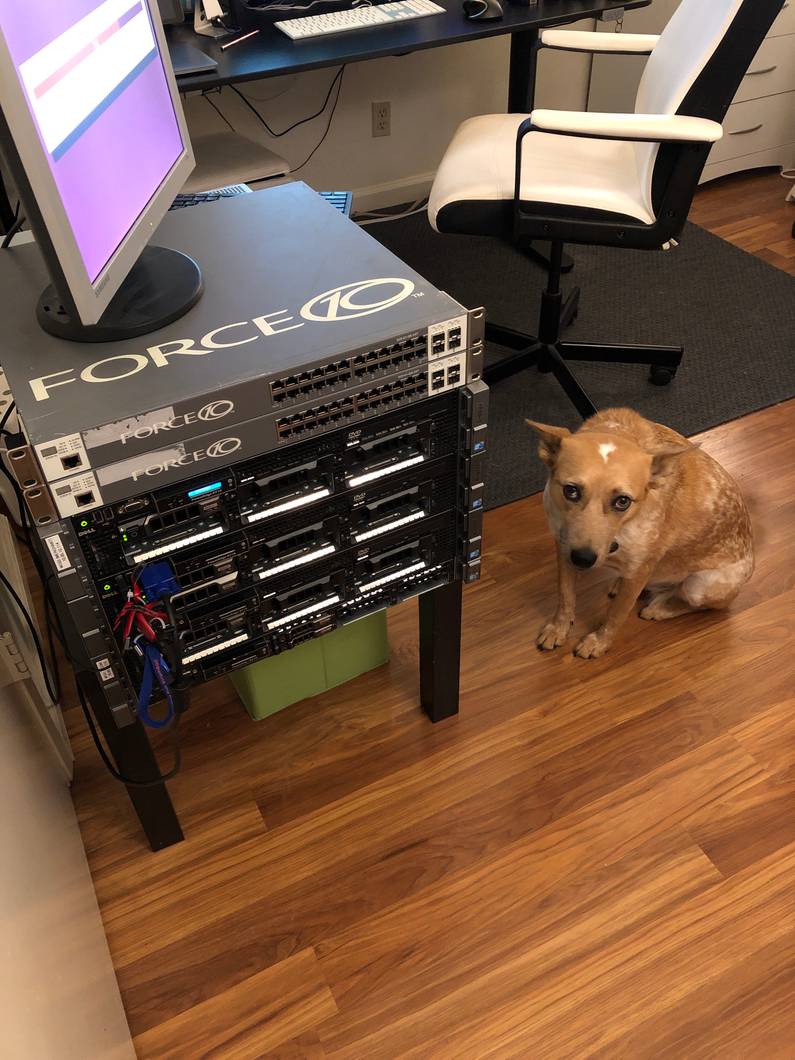
As you can see from the photos, storing the servers on a table is not the best option so I order
this rack from Amazon to put everything. With the
1 unit switch, 3 R710s at 2 units each, and 1 unit R610, it leaves 4 units free for a storage
unit which I’ll look to add next.
Side note, power in the USA
The situation with power in the States is interesting coming from Australia.
- Power cords can be different power ratings, so you basically need to know basic electrical
theory to buy the correct things.
- Outlets are only typically rated at 15A, which given the lower voltage of 110V, means that
you can only pull 1650W from a power point before you start to worry if its going to catch fire.
- Those power cords that are rated at 15A are thick and difficult to work due to having to handle
higher amps (while only being able to handle 1650W) compared to standard Australian power leads which only need to handle 10A (but supply 2400W).
- To make things even more confusing, many products don’t use Watts as the power rating but instead
advertise the rating in Joules. Not sure if this is a throw back to imperial vs metric or some if there is some other weird reason for this?? To my thinking Joules is totally the incorrect unit as it negates time (does this 200 Joule product handle 200 Joules per second, per hour, or is 200 its given life span and it catches fire after this amount of energy like a Mission Impossible message?)
This creates an interesting situation as I need to plug these servers into two outlets to get the required power without over loading an outlet where as for the power required, in Australia these servers would run on one outlet.