Home Data Center Project: Reduction of noise on Isilon X400
The following is part of a series of posts called "Building a data center at home".
Living in the SF bay area, you can acquire 2nd hand data center equipment relatively cheap. The following are a series of posts detailing my deep dive in building a cluster with data-center equipment at home (often called a homelab) which consists of 48 CPU cores, 576Gb RAM, 33.6TB storage across 60 x 6Gb/s HDD's with a combined weight of just over 380lb/170kg within a budget of $3000.
- Home Data Center Project: Starting the build - 7 September 2019
- Home Data Center Project: Adding a storage server - 21 September 2019
- Home Data Center Project: Formatting NetApp drives for normal use - 21 September 2019
- Home Data Center Project: Reduction of noise on Isilon X400 - 28 September 2019
- Home Data Center Project: Wiping and configuring Force10 switch - 5 October 2019
- Home Data Center Project: Load balancing multiple ethernet ports - 26 October 2019
- Home Data Center Project: Setting up a VMware vSphere ESXi 6.7 on Dell R610 - 6 November 2019
- Home Data Center Project: Persistent kernel panic and upgrading R710 BIOS - 23 November 2019
- Home Data Center Project: Finished System - 29 November 2019
As discussed in an earlier post
within this series of posts, while I have set up the X400 to work as a storage server for the
Kubernetes cluster, it still makes a huge amount of noise. Realistically, the level of noise it
produces is too much for this server to be run anywhere in the house, or really in any residential
or office setting.
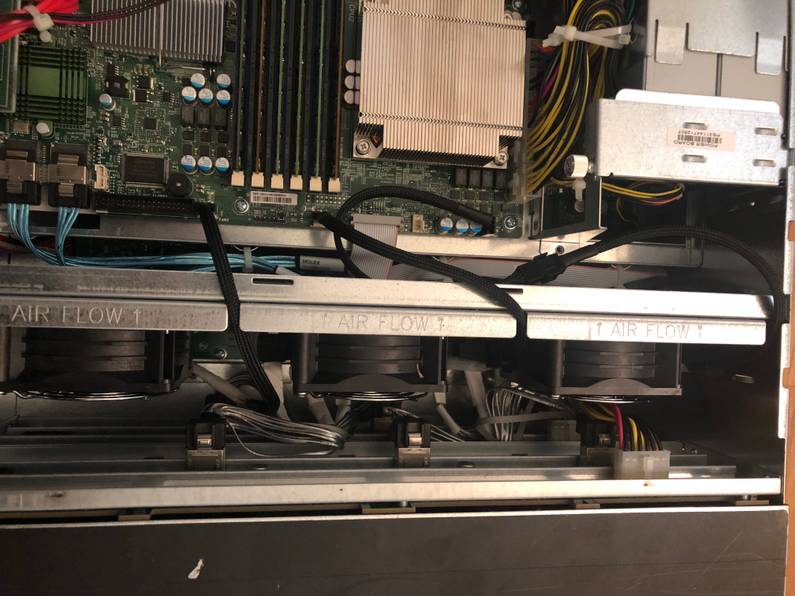
One of the main issues is that I can set the fan mode in the bios for the Supermicro motherboard, it doesn’t seem to be able to control the secondary board which the fans plug into in the chassis.
This meant that the fans always run at 100% power. These fans are very powerful too, each with a rating of 80 cubic feet per minute (cfm). Given there are three in this unit, it means this unit could effectively move all the air in our 1000 square foot unit through it in about half an hour.
I tried to get around this issue for a while, but numerous online searches for anyone previously having this particular or even similar issues turned up very little. It appears that there are some software fixes that can be employed to change the fan speed once the machine has booted, but given the rate at which I kill and reinstall OS’s on these machines, this seemed like a poor option. Solving this in a permanent, hardware based manner is what I really wanted to achieve.
First port of call was to look up the documentation for this motherboard, and it appears that it has a number of 3 pin fan headers on the board.
I bought a few fan extension leads and once they arrived worked on getting theexisting three fans attached to these headers instead of using the secondary board which is part of the chassis.
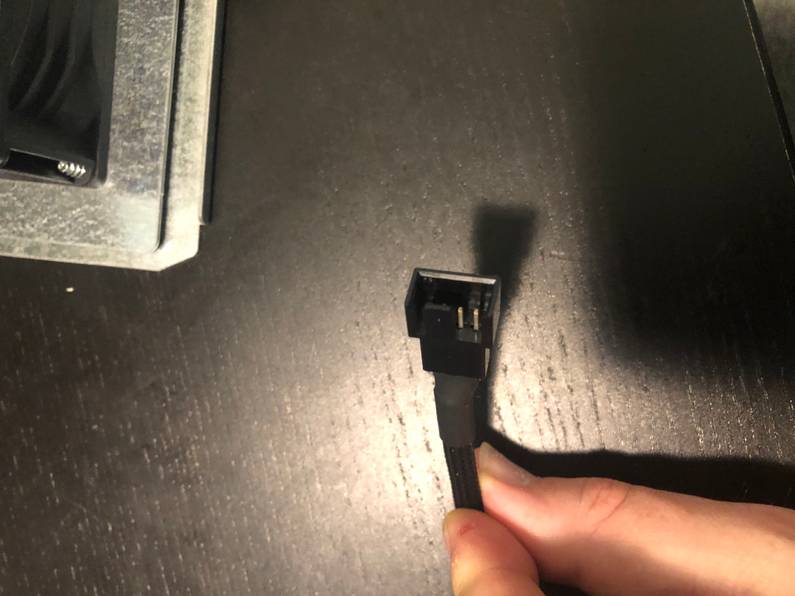
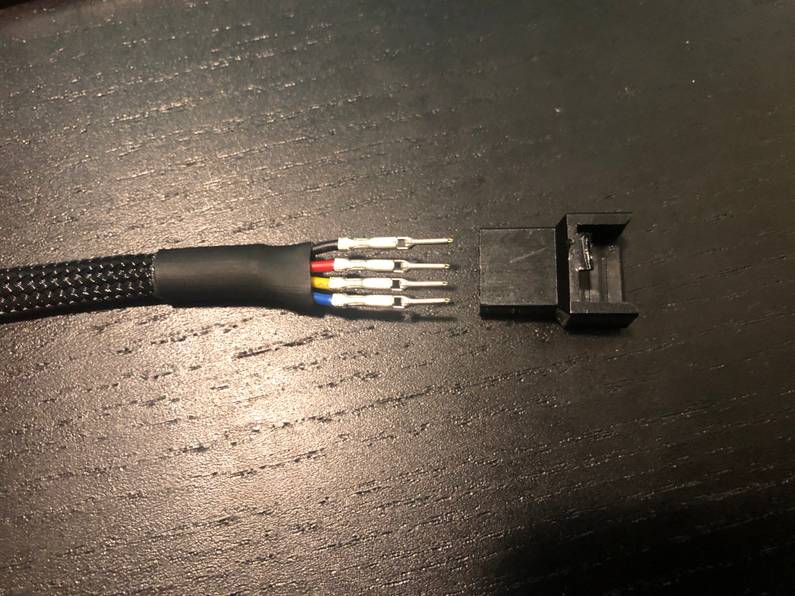
First this was a case of exposing the wires in a way which would allow me to ‘back out’ of this physical change to the fans.
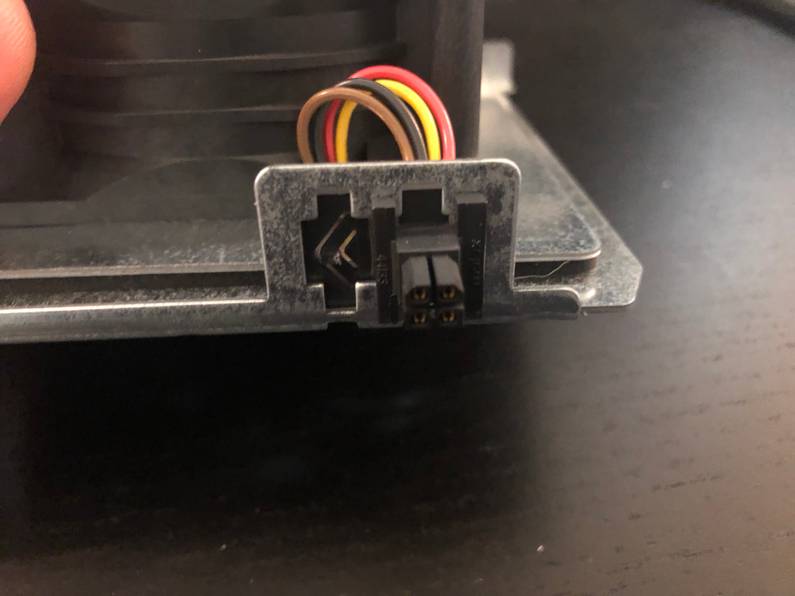
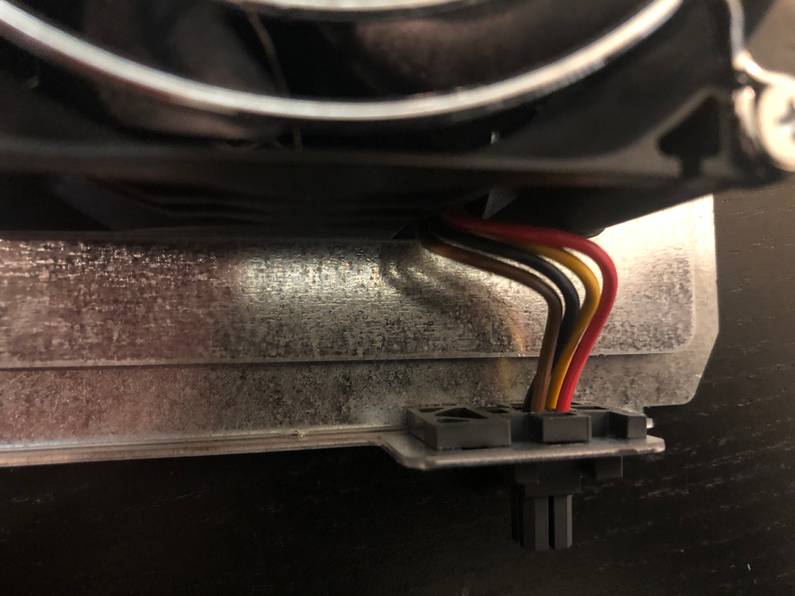
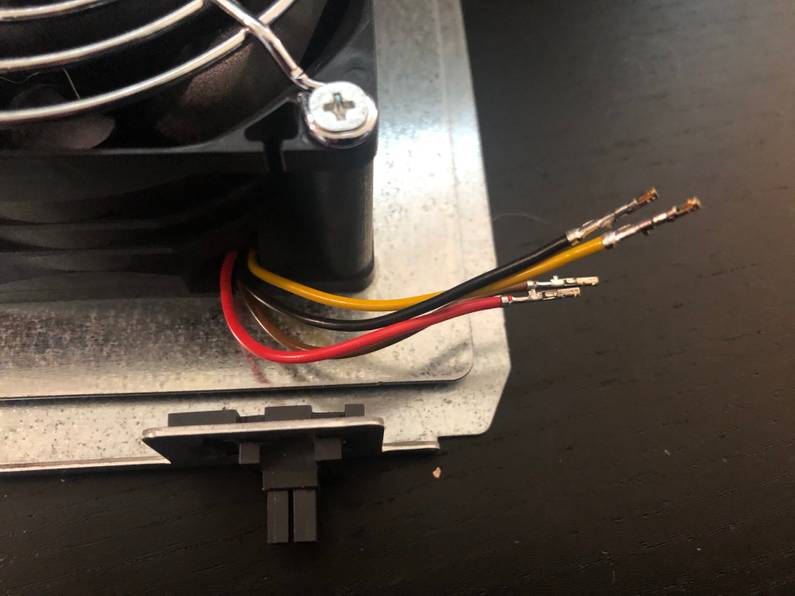
While the socket attached to the fan section is a male connection insofar as the plastic interface, the internal connection on these are interestingly female connectors.
I then performed the same process on the male end of each extension cable.
It was then a simple case of connecting the four exposed wires in the correct configuration, insulating each with some small heat-shrink, and then wrapping the entire thing in some tape to keep it from all flapping about.
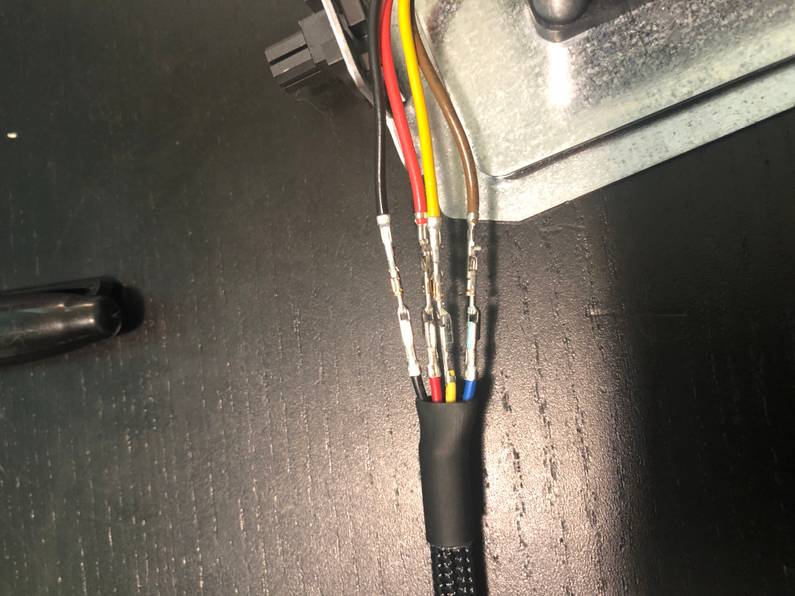
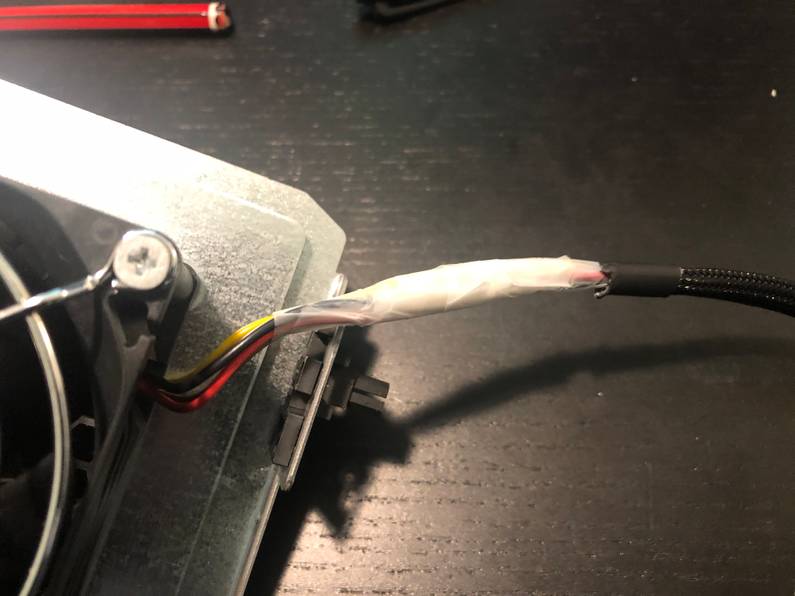
Once completed I re-seat all fans in place, run the extension cables in a less than tidy but sufficient way and booted up.
I jump in the bios and check the fan mode, setting it to the lowest level possible. Unfortunately, the setting on this board means that the minimum fan speed is about 40% of maximum. While the difference is substantial between 100% and 40% power, noise is still a significant issue and it’s not something I could have running in the house.
The next step I decide is to swap out the fans for others which are built to perform at a minimum noise level.
I purchased some Arctic F8 which have a max capacity of 31 cubic feet per minute, or about 40% of the capacity of the current fans. I set up the alarm in the bios to an early setting to ensure that if these can’t move enough air to cool the server I know as soon as possible. While all these drives will produce a large amount of heat, they are not going to be under much load, so I figure I’ll give it a shot initially and work up from there.
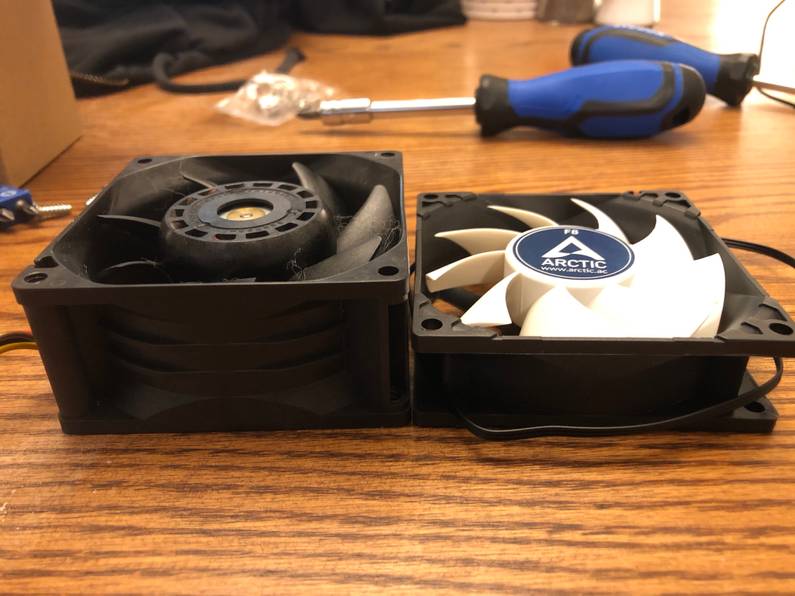
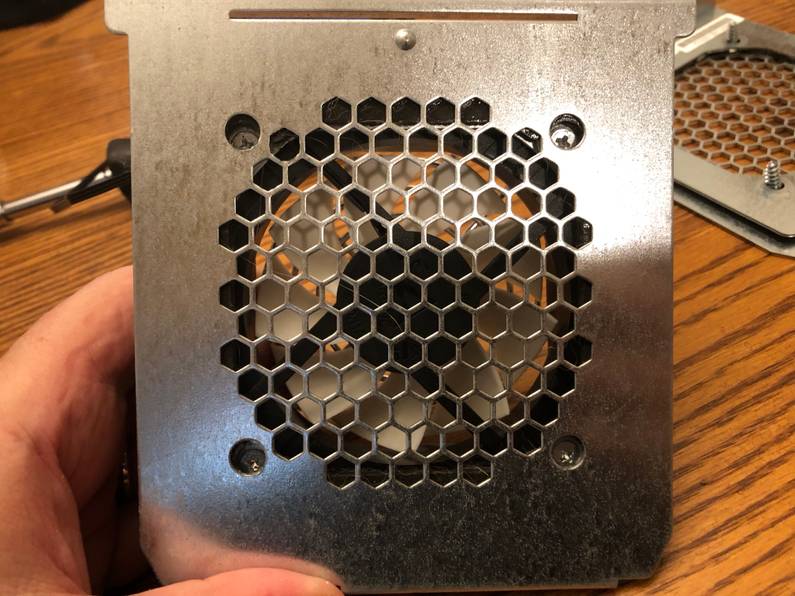
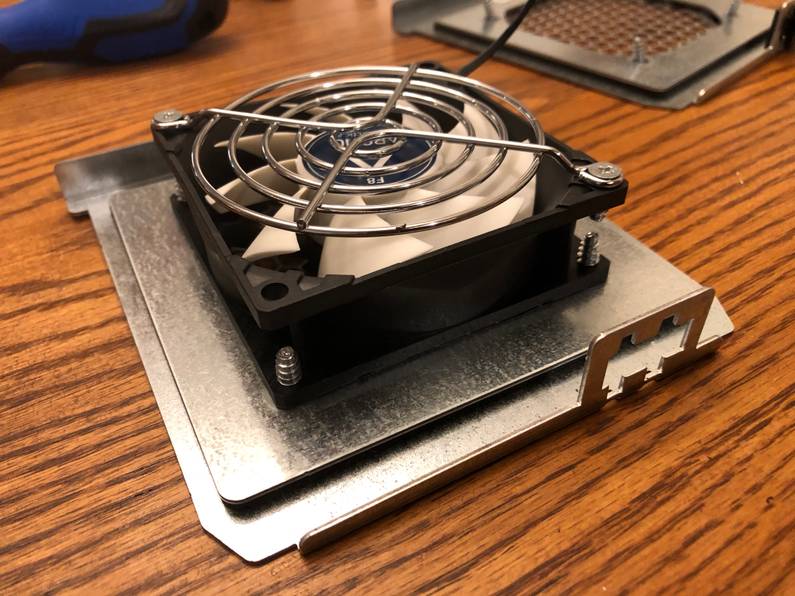
These fans have standard cabling meaning that installing them in the X400 is easy with a few
extension cables. I seat them in place, pack up the server and boot it up again.
The difference is remarkable. At 100% fan use, this server is pretty much the same volume as all other devices on the rack at a resting fan rate. This includes the switch which is now louder than this server. The amount of air flowing out the back panel is still significant and the motherboard can push the flow up to basically 40% of the previous high mark.
It does concern me that the amount of convection this unit is now capable of is quite less but at
least now I can actually use the server in the house and not be worried about the rest of the
family complaining about the noise. It’s taken a good amount of time, but I’m happy I now have
the X400 to a point where I can use it!
