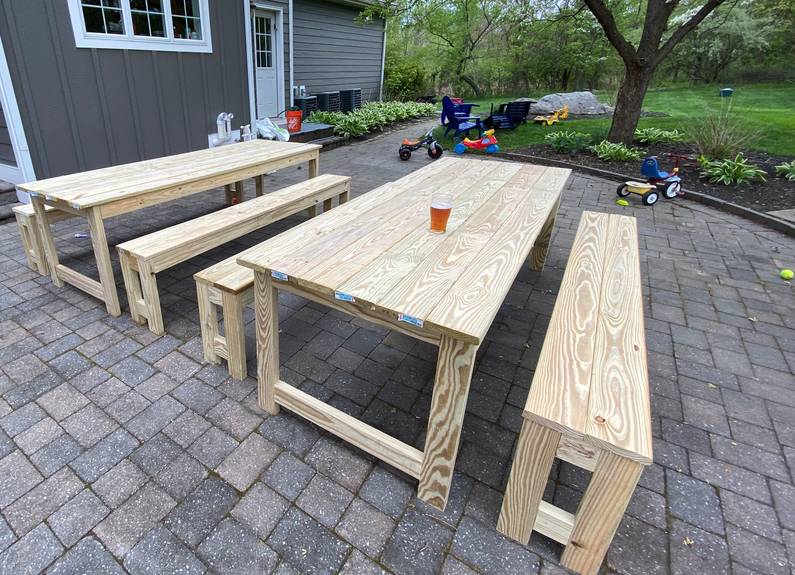
Building tables and benches for the backyard
As we enter into the warmer months on the northern half of the planet, I’ve started looking at some projects that I can do for outside furniture to make it easier to spend time with the kids outside.
I felt pretty inspired to go after something resembling the tables and benches you’d typically see at Oktoberfest. Having plenty of length / seating positions was a high priority, but I also wanted a little more width than you’d typically see in Bavaria to provide more space for food and toys, and all the other things the kids bring to the table.
I’d read a bit about Kreg’s Pocket-Hole Jigs before this project at well and decided to give it a go as it is relatively inexpensive.
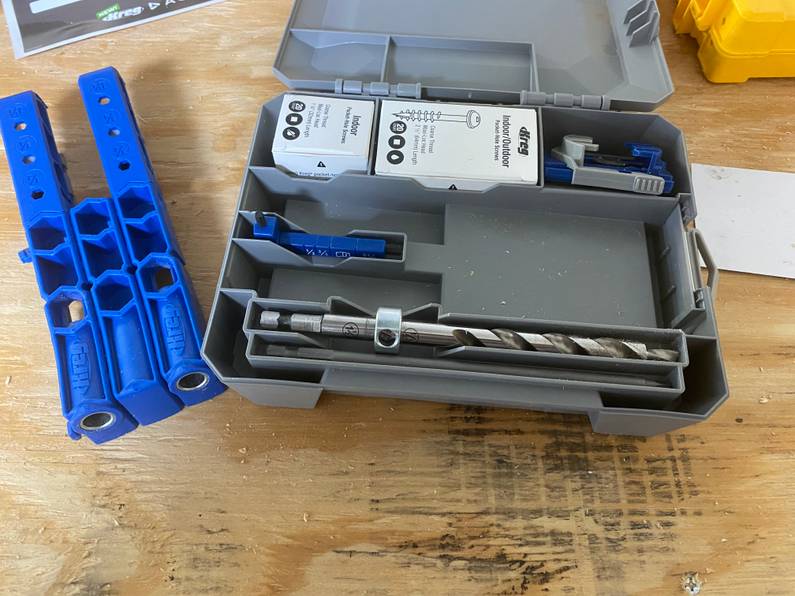
The Kreg is worth every dollar you spend on it. It’s amazing how such a simple tool can profoundly simplify your design while also making things much easier to assemble. With a simple project like these tables and benches, it’s a case of doing your cut list, drilling your holes and then screwing everything together.
It’s a bit fidgety to get use to, but after a few practice goes, it becomes pretty easy!
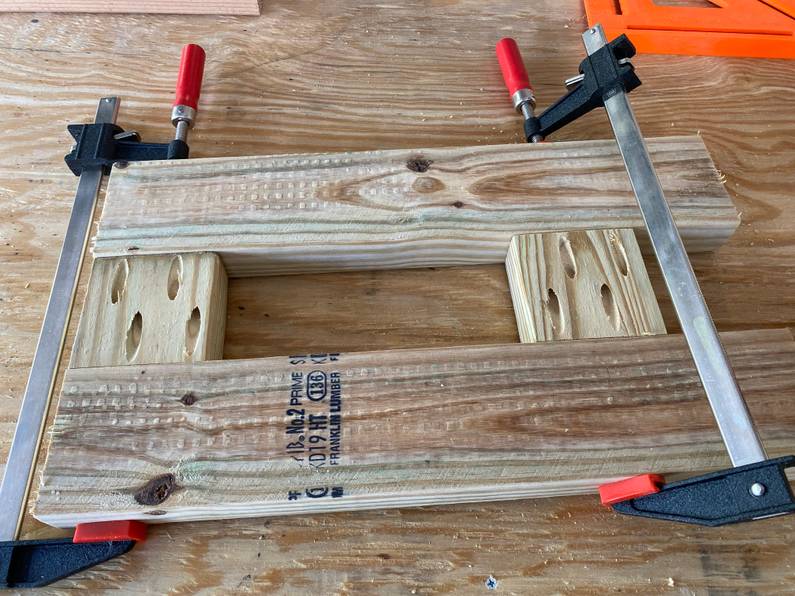
Once you’ve got your cut and drilled pieces, it’s simply an activity of screwing it together. Some clamps to keep things square and firmly held in place help here a lot, but otherwise there are few challenges that arise.
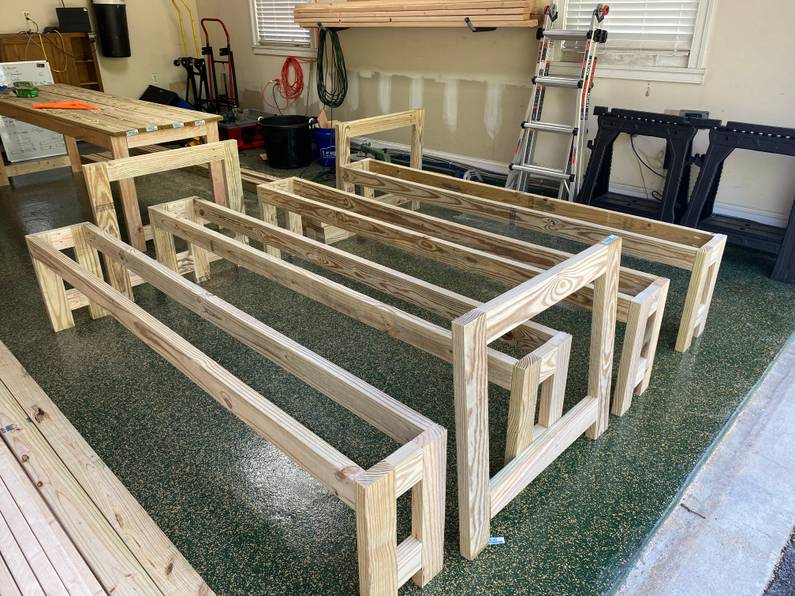
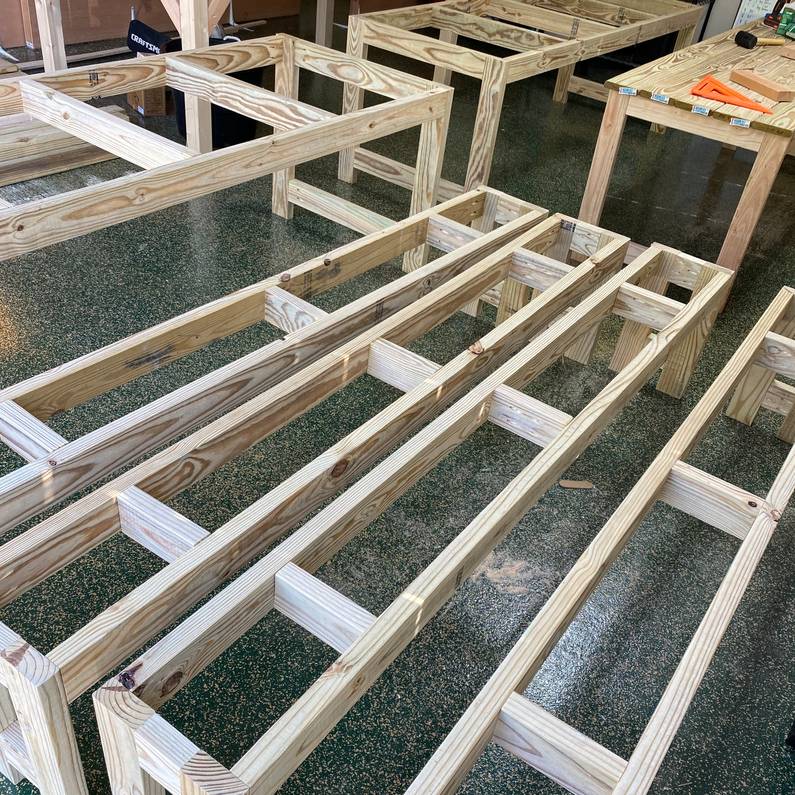
All up, it took just under an hour to put together the frames for the two tables and four chairs. It felt like I managed to get a lot of work done extremely quickly compared to what a project like this would require if I was doing it without the pocket-hole jig. As a fellow colleague from work mentioned, pocket-holes almost feel like you’re cheating! Mike’s right, it feels like assembling your own custom Ikea furniture.
For the table tops and the bench seats I used 1x6 planks that are typically intended for decking. To avoid having screw heads visible, I used the pocket-hole jig so that the screws would point up, through the underlying supports and into the planks. This took some careful measuring when drilling holes so that the screws would not penetrate completely through the 1x6 boards. I only happened to drive the pocket-hole screws too far on a few occasions which was solved by backing off the screw slightly.
I regret making the decision to secure the table top and seats in this way as it feels like a poor choice. If I was to do this project over, i’d likely look at using Kreg’s Deck Jig which I feel would likely have produced better results.
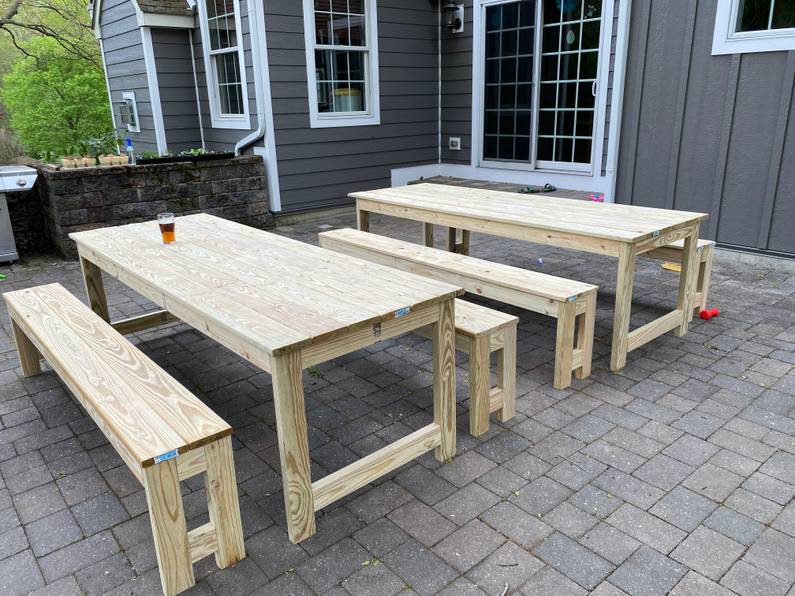
After putting the table top and seats on, it was a case of getting them into the backyard and testing them out with a pint.
I’m currently letting them dry out for a month or two before sanding them back and staining them. I’m also thinking about putting in some extra supports on the legs although they are pretty solid already.
The benches are also shorter than the length of the table so that they can fit under the tables when not in use, and for storage if we want to bring them in during the colder months.
Cut list
Tables
- Table top edges 4 @ 88 3/4” (2x4)
- Table top supports 6 @ 29” (2x4)
- Legs 8 @ 29” (2x4)
- Leg laterals 8 @ 25” (2x4)
- Table tops 12 @ 96” (1x6)
Benches
- Bench top edges 8 @ 85” (2x4)
- Bench top supports 12 @ 7 1/2” (2x4)
- Legs 16 @ 19” (2x4)
- Leg laterals 16 @ 3 1/2” (2x4)
- Bench tops 8 @ 88 1/2” (1x6)
